Thursday, February 6, 2014

Making Valentine Crumb cards

  Every year, I make Valentine cards. Usually, I silk screen them. However, I am immersed in quilting lately and in love with crumbs. So, here is how I made a bunch. The insides need to be stamped yet. The stamps are from my former life as an art teacher. Every year, I taught the kids to make valentine cards. We made cards for the local VA hospital using collage and stamps. That was a great thing for the kids to do.
  I started with red and white and pink scraps sewing crumbs together. I love to do this.
I like to throw smidges of other colors in
     I keep building the crumbs until I get a large hunk. I ironed Heat and Bond on the back. I don't like it for quilting, so this was good to use for this.
     Then, I cut some heavy interfacing and fused the crumb piece to it. I traced a heart shape on in pencil, as close to each other as possible. I even made some small hearts out of the leftovers.  I made my heart template making sure the heart was not equally symmetrical (boring). I cut out the hearts. I like the heft of the hearts cut out.


    I buy the cards already cut and scored with the envelopes, using a coupon at Joanns, AC Moore, or Michaels. I put Crafter's Pick, The Ultimate Glue on the back and glued them to the cards. I have this quirk I can't make two things the same. So, I tried some pastels and crayons behind the hearts for a few.


     I wan't really crazy about that. I glued some buttons on some of them as an accent.

     Then, I sewed some fancy yarn around the edges using the Singer 401 zig zag and invisible YLI thread. It was a lot of work. I don't know how much it added.

      The rest, I just glued them on as I thought they had a lot of design going on. It is hard for you to see that they have dimension to them.


     Bottom line is, I just think they need to be on a quilt. I am not making 20+ mini quilts. I did not want to make postcards because I wanted the hearts 3D. I thought the hearts might look good on mini painted canvas but who besides me would hang them up? I am thinking maybe I should make some mini quilts in these fabrics and have them next year for a few people. I just should be happy that I made plenty of cards with crumbs to give away. The line between card and quilt is hard to break.

Just had a brain flash! I could have bought valentine scrapbook paper, like red lines or simple small shapes and glued it on the card first, then the heart. Sigh....

Wednesday, February 5, 2014

Some comfort quilt tops progress

    I have been recovering from a real nasty virus, not the flu. No temp, respiratory issues but unrelenting face pain, pulsing purple afterglows, nausea, gastro-intestinal junk. It has been a long time since I was flattened horizontal except for migraines . So, what I sewed are comfort quilts that I had cut out and needed assembly. The first of two You've Got Mail quilts is sewn together. Since it is 54 x 64, I am not going to border it because I think it would be too large for a comfort quilt. Earlier, I wrote how I used a whole layer cake. This quilt are the blocks from half of it. The other quilt to be sewn has the warmer color blocks.
All sewn, needs backing and batting

      The second quilt is another Gerbie's Exploding Squares. My mother had sewn the blocks for me. She sews all around, I cut, iron, etc until the block is done. She had sewn enough squares for me to make three different quilts. I laid them on her floor so I could teach her how to make decisions on what blocks went in each. I numbered them with blue painters tape and bagged each set in gallon baggies. Today, I took one set and sewed it together. I put it on the design wall and tried different fabric for the borders. I chose the dark purple because it stopped the eye from all the scrappy busyness and did not call attention to itself because of its dark value and muted pattern. The outer border was chosen because it was a value that contrasted with the inner one and the lines stopped all the floral scattered look. The border is a medium value that behaves as a frame and allows the blocks to show their colors. 
     I mention this because I know some people have a hard time with borders. My advice is wait until the quilt is sewn before you choose the border fabric. The color choices should play together and not be matchy/matchy. You spend all that time on the blocks, make the borders work. Borders should not just be fabric that makes the fabric bigger. You don't put a frame on a painting just to make it larger, but to showcase (but not upstage) the art.
     I won't choose the binding until after quilting.

Just the blocks

With borders, 50" x 60"

Monday, February 3, 2014

Studio Tour- it's clean right now

    I spent a lot of time and decision making to clean up and reorganize things a bit. I realize I have more room than a lot of people, but it gets jammed trying to cut and press pieces. I moved all my rulers to a shelf above the cutting mats. I do not like these blue cutting mats, and have to use 3 of them to fit the top. I looked at other mats, but the cost keeps me thinking. I heard of the Martelli mats, but they are $$$. I wish I knew someone who bought them and love them. I moved the ironing board out of the room for now and bought an ironing mat. This works for most of the pressing, except when I press backing and long pieces. I will drag it out then, but am tired of tripping over it. 
    My machines are in the center of the room on a couple of tables pushed together. I would love to have one large table so I don't have so many legs to bump into and could maybe have storage underneath. I have one machine for piecing, one for small quilts, one for large, one for zig zag and the treadle for scrap piecing. The cat, Tugger, supervises and tests out the quilts for comfort. 
Newly organized counter, rulers above, ironing blanket

Machines central to room. Now the last 301 is replaced by the awesome 15-91

Treadle with valentine card crumbs being pieced

Comfort Control is Job 1
Closet next to counter with fabric organized by color and scrap baskets.
Strips in blue handle boxes. Tiny scraps in baskets stacked at bottom
.

Friday, January 31, 2014

Work, work, work = fun, fun, fun

   Lots of different things going on. I labeled and bagged all my UFOs and put them standing up in a bin under the counter. I sewed all the blocks for the You've Got Mail quilts. One layer cake made 2 quilts, 4 blocks by 5. I tried to use all the cool color ones in one, and the mostly warm in the other. It was grey today, so I don't know how well I did. I used blue painters tape and labeled all the rows so I could stack them for sewing. One fit on the design wall, and I had to lay the other on the floor.
The warmer blocks

Cooler blocks
      All finished quilting Emma's Star! Ready to put in a tote bag and wait for someone who needs it. I have another one (Emma's Star) all cut out waiting to piece. I used patterns from Free Motion Quilting. Thank you, Leah Day. I would never be able to be the quilter I am today without your tutorials and blog! The designs I used were Bubble Wand, Flowing Lines, and Basic Chevron. I bought her book and use it to plan out what I am going to use on a quilt. Then I go to her site and watch the video to practice it out. I started using Isacord because of her, but now I also use Glide because it is USA made and works so well.
     I also want to thank Lori from The Inbox Jaunt for excellent FMQ tutorials that I have used at times.  And for sheer production of comfort quilts, Sarah is the queen to me at Confessions of a Fabric Addict.
Emma's Star
     I finally found fabric for my daughter's tote. It is probably not the first color choice she would take, but I think the design is and I think the color goes with her hair and being a chemistry college professor at Allegheny College (read proud mom).  The tote is going to be a challenge for me. It has a zipper (gasp) and I have to change up the pattern (yikes).
Local Quilt Store fabric comes through
     Last, I would like to show I finished the Christmas cactus watercolor. I always enjoy Wanda's photos of her cactus and I told her I would post a photo of this when done. I owe her gratitude for her knowledge and kindness to me.


A true Beauty, classic and strong!

    It is about a month early for my birthday, but I saw a Singer 15-91 on ebay that was so pristine and strong looking that I melted. I have an old treadle 15 (no reverse) and a 15 with a belt and motor that is still not running because it was shipped with a new cord not attached properly to the terminal. I don't do electrical and my husband has had no time to look at it. This one was just so, so lovely and shiny, all ready to as they say, plug and play. I usually piece on one of my 301s, but wanted something a little stronger because I would like to sew some bags as well as own one real spiffy black Singer. My mailman was a bit skeptical about bringing it to the door, but he relented gratefully instead of making me go to the PO and lug it from there to my car. 
   It was packed great, nothing moved inside. The seller took every precaution to wrap everything separately and wisely. I tried it out and it sews great. I will have to tweak the tension a little bit, but that is all. All cleaned, oiled, shined, new wiring. Wow. Don't ask what I paid. It is worth it to have such a machine. I love to clean machines, but there is something grand about a new one showing up like this.
Box in terrific shape, way to go USPS!

Flaps open to styro

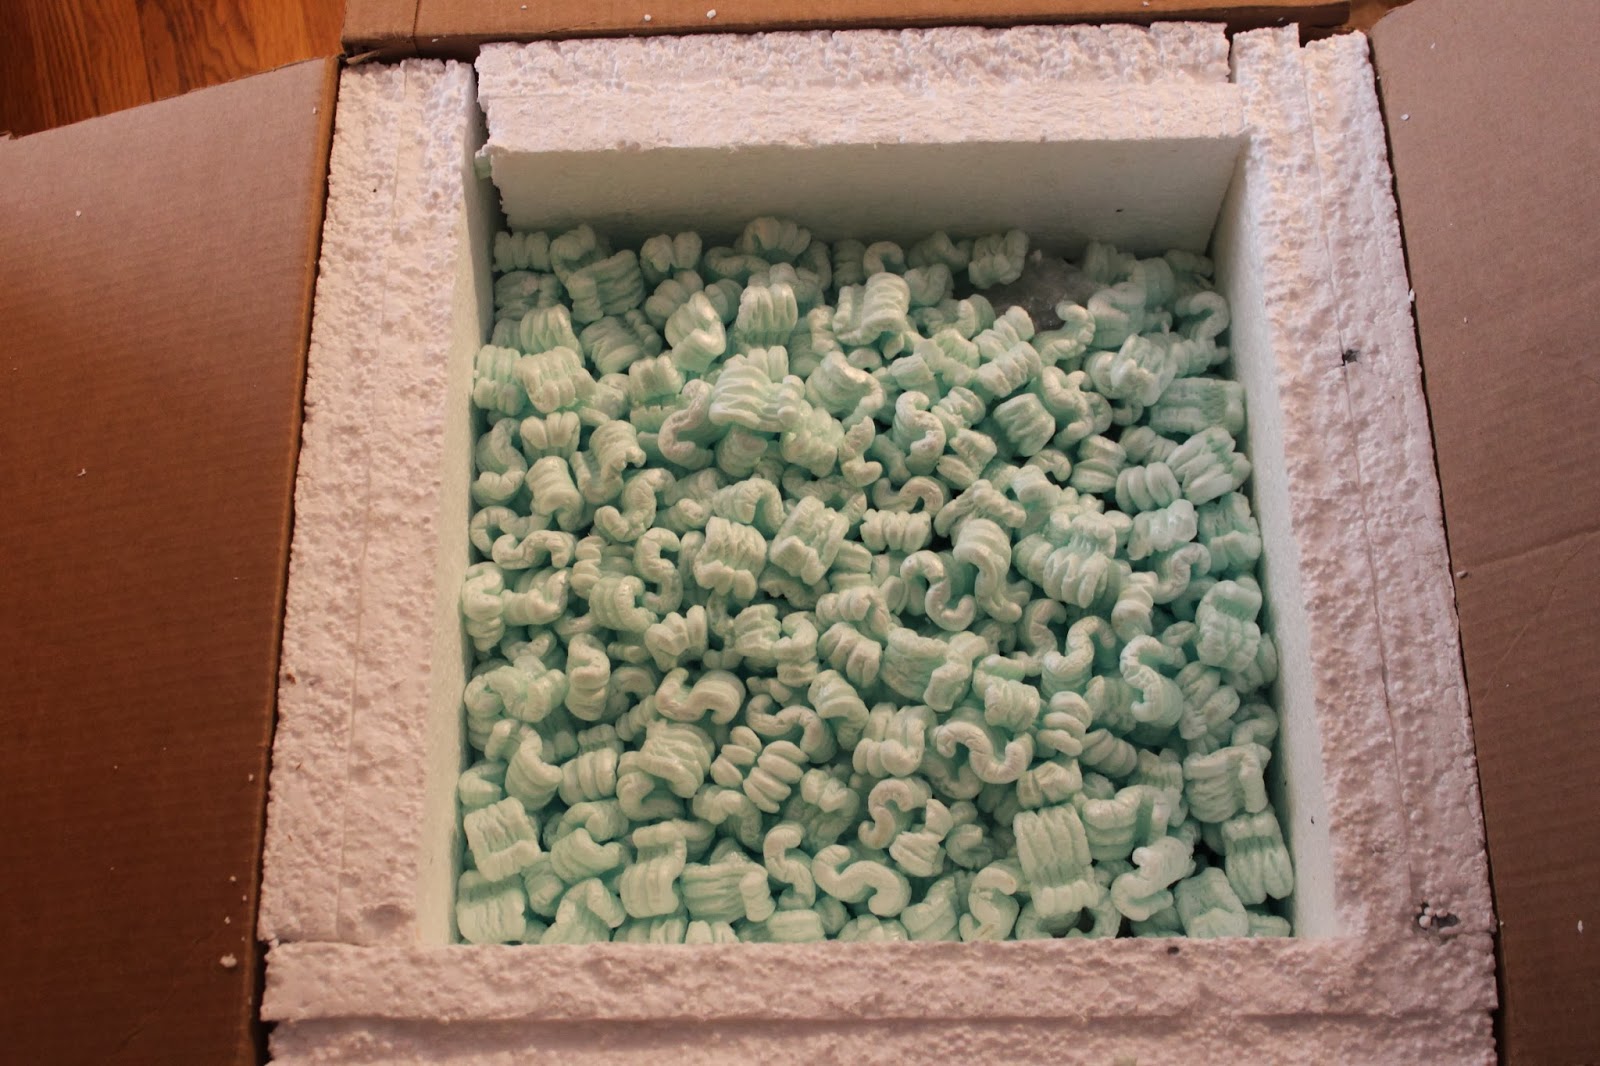
Next, an ocean of peanuts

Yes, there is a machine in there

In its cocoon, ready to emerge

Yes! as shiny as the ebay photo!


Monday, January 27, 2014

Trying to stay warm!

    This isn't news to most anyone, but it is frigid! The sun is shining today, but the temperature is dropping. South of Buffalo got hammered last night with snow and wind and schools closed. I am north of Buffalo, and just got some snow. Makes me all the glad to sew more and those vintage machine foot controllers keep me warm. I am working on a bunch of stuff, as I have 5 machines set up, all with something different going. Hey, woodworkers have many machines set up as they all do different functions. I have a 301 set up for piecing, a 301 that has small comfort quilts being FMQ, a 301 with a large quilt being quilted, a 401 that does zig zag on fabric collages for cards, and my treadle for scrap crumb quilts. These all cost less than my ill bought $2200 P machine that could never quilt well (sold it). Yesterday, I worked on all of them doing a lot of different things.
    I hope some of you visited your local quilt store on Saturday for the national LQS Saturday. I did my part at Pine Grove. I got fabric for my daughter's tote bag and some great grey for putting together crumbs.
    On Friday, I helped my friend, Jan, continue on learning to quilt. We have been working on a dog themed quilt based on the free pattern Patience Corners from http://jellyrollfabric.net/  The plastic guide I bought from Nova Montgomery is a huge help for Jan to keep the seams even; it works much better than the foot with the blade. Here are the blocks on the wall ready to sew.
Blue tape show order of blocks for sewing
    Another quilt I started, You've Got Mail, free pattern and video from the Missouri Star Quilt company, is from a layer cake and 10" white squares cut from yardage. I layed out all the blocks and have 22 out of 42 sewn.The rest are pinned and waiting to be sewn. When they are all sewn, I will put them back on the design wall and break the blocks into two quilts, 4 by 5, for two comfort quilts.
Not in any order, just for pinning


All pinned for sewing
    Since the only kids comfort quilt I had was given away, I started another, because, unfortunately, I will get another request. I decided to do Disappearing Nine Patch, rotating all the kid prints to the center. I bought a pack of I Spy 5" squares on ebay, and am using my own 5" for the other squares. These are how many I have done now.
Needs three more rows
    I don't usually put my paintings on this blog but on my flickr site. However, it is so cold and I thought at least one newer one might brighten the day.
A bouquet from last year's Buffalo Garden Walk

Monday, January 20, 2014

All kinds of bits and pieces

      I have not made significant progress in any one area. In the crumbs, I have now 40, 6.5" crumb blocks. I don't want to do just a sashing (boring) or another attic window pane. I don't know what to do. Someone at the WNY Modern Quilt Guild meeting mentioned doing skinny strips of black like stained glass and offset the rows. Hmm, I am not sure.
     The other crumb strips are 2.5" by 8.5", paper pieced on newsprint. Bonnie Hunter showed them on her quilt cam, showed a block made out of four, and then I never heard mention of it again. I jumped on it because I can use all the tiny pieces left over on these. So, now I have these nice strips and no ideas. I don't want to set them all against each other because it would be too jumbled to the eye.
6.5" Block pile all done on the Singer Treadle

2.5" x 8.5" Strips, 2 whole blocks, sewed on the treadle.Where do I go from here? 
This is all I have left after my crumb blocks. I don't throw anything out bigger than this.
     I am also continuing on my wonky quarter log cabins. I finished another 4 quarters. I did not sew any of them together yet, so I can rearrange when I get all of them done. I am planning on 3 complete big blocks wide by 4 blocks long to make it a comfort lap quilt. These also sewed on the Singer 15 treadle. I am telling you, the treadle is real relaxing and comforting to sew on.
Two big blocks arranged, the quarters are 8.5" unfinished,
so the big blocks will finish 16"

First big block trimmed
     Finally, I took the plunge and am cutting out my daughter's wedding present quilt. It is going to be loosely based on Circle Dance by Elisa from Backporch Designs. A little while ago, I bought the 7" template and thought I could make the 3.5" one. Nope, I broke down and ordered it yesterday. I did start cutting out the batiks that Ria picked out. I am going to have to at least make 70 sets of the quarter circles and about 35 sets of the small circles. Well, at least I started. I am planning to sew them together with my Curvemaster foot that I bought.

Cut with the 7" Crazy Curves template