Showing posts with label Lemoyne Star. Show all posts

Friday, September 25, 2015

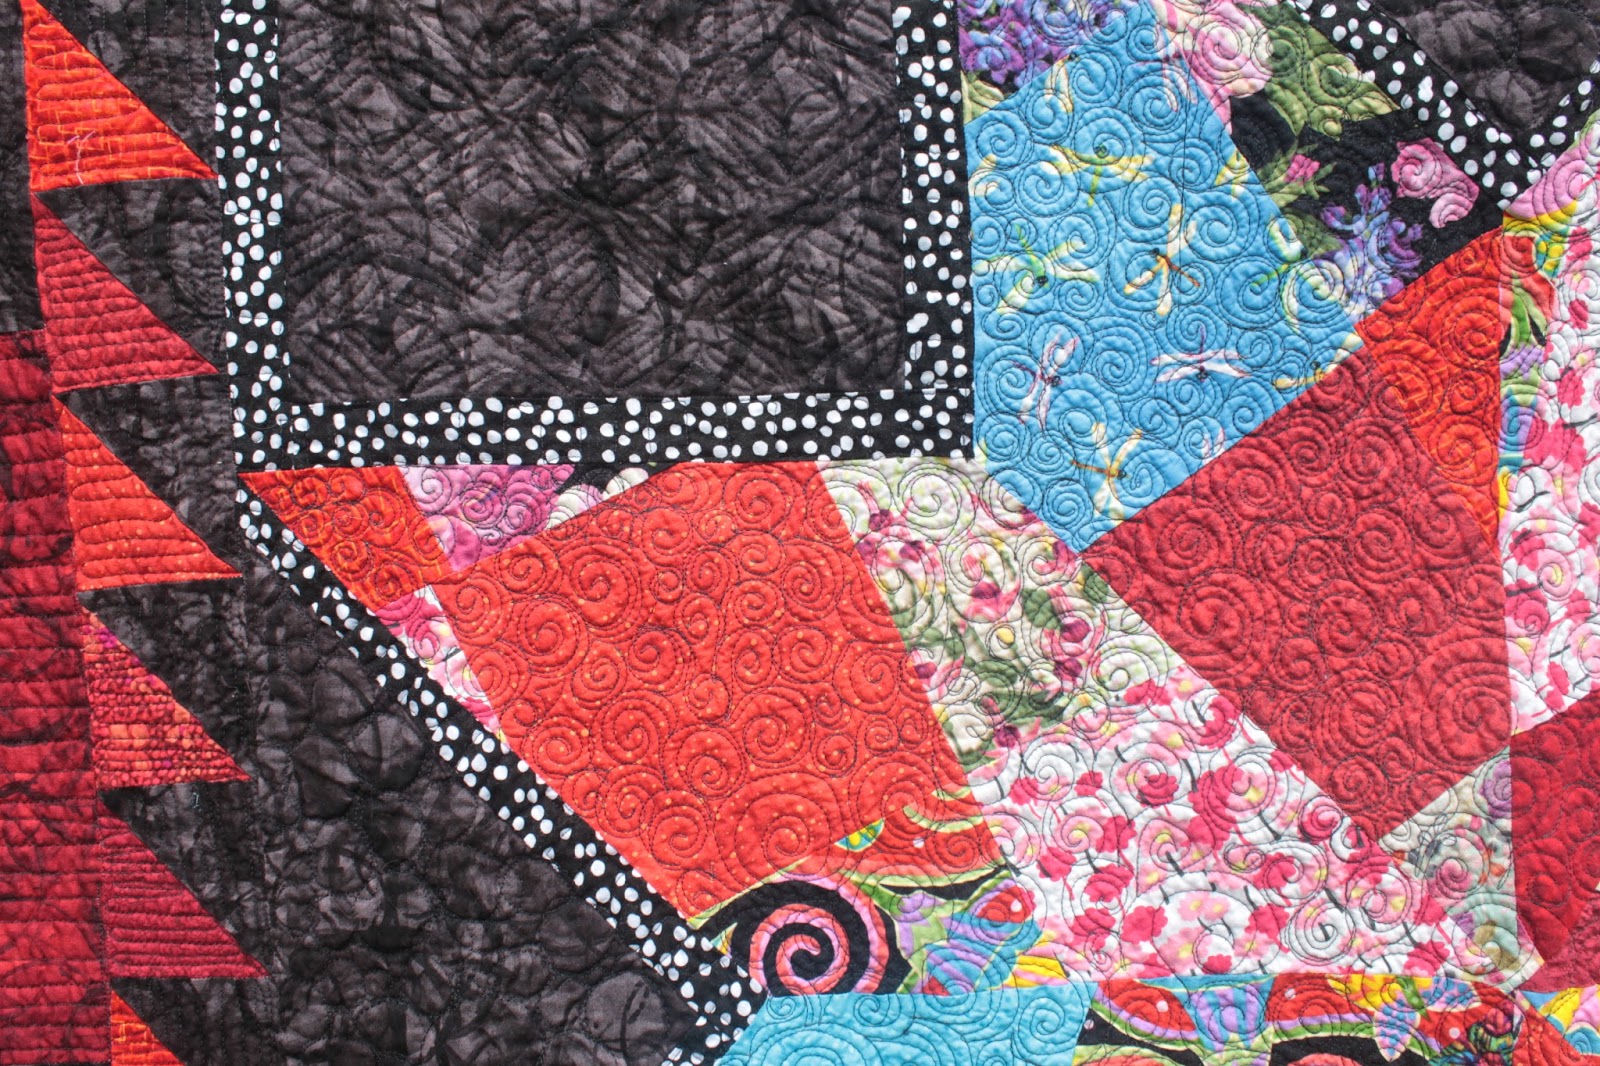
Small improv Lemoyne Star quilted. A Lot.

     I made a small lap quilt from made fabric for the Lemoyne Star, scavenged half square triangles and checkerboards discarded by others, and other fabric to tie the whole unit together. I finally loaded it on the longarm, and did lots of quilting on it. I am still pretty wobbly on the machine. I tried all sorts of patterns. I can do straight lines pretty well, but that is not what I really want to quilt.
Back

Details
The shadows come earlier now, will have to retake this soon.

Saturday, June 27, 2015

Black and Whites

     Because this quilt was literally finished and packaged for a quilt show, I never got to take a photo of it. But now it is back. Here is the Leymoyne Star made fabric I did last year at QBL, but just quilted on the Nolting (finally).
Detail

Back
Front
     Also, a woman from my guild gave me a selection of black and whites for looking at her vintage machine and offering suggestions on how to clean it up. Just super!!

Thursday, January 15, 2015

Border makes it better!

     After dragging the top to the local quilt store, I chose a border fabric. After cutting and sewing it on, it makes a huge improvement to the overall look of the small Lemoyne star quilt. I think the yellow and the made fabric look stronger. Glad I persevered.

Friday, January 9, 2015

Small Lemoyne top done, hmmm?

Does it need more or not?
     I have had this on the design wall for a while. I have used leftover scraps for made fabric for the star and blocks that were given to me. If I try and add more around the edges, the star and checkerboard get lost. It is about 52 x 54.

Monday, October 27, 2014

Last Stitches for now

     It is almost time for my big adventure. Tomorrow I am leaving for the International Quilt Festival in Houston. I can't believe it. I have never been west of the Mississippi. I am flying with some friends who invited me to go with them who have been there and know the drill. I pray I am not overwhelmed by the size and commercialism and make wise purchases.
     I finished the pumpkin HST little quilt and FMQ it all in leaves motif. I gave it to my daughter in law as she loves fall decorations.
      The made fabric Lemoyne Star has had some additions around it. I want it to be rectangular, so I am adding different borders instead of symmetrical ones. Someone gave me a bunch of HST that are perfect for using here. I am going to add more to the top and bottom and probably an all around border before it is done, but that is all for now.


Thursday, October 23, 2014

Lots of miscellaneous stitch ramblings

    Sometimes, the way my brain works, I can only work on something for not very long, when I have to stop and change because my thinking is racing somewhere else. Yesterday was like that. My husband was due to arrive at the airport from a business trip at 5 pm, but did not arrive until 1:30 am and I had to make an airport run with toothpicks to hold my eyes open. Which means I never knew, minute by minute, when his flight would be a reality. So, I skipped around trying out some ideas.
    First, I spent a couple of hours quilting Circle Dance and am about half way. Just lugging queen size quilts through the machine is wearing. Here it is in a heap on the machine.
    I fell in love with a pattern I saw in the Keepsake catalog, but I hardly ever buy kits. I found the pattern on Craftsy, Bright Birches. I probably could have figured it out, but I bought it because I always think everyone else is much smarter. I was disappointed to see the blocks were from 15" blocks. This is not a size I have a lot of different colors in. However, I had some 10 x 10 solids, and pulled them out. I tried one block. I love to sew small scraps by chain stitching and then cutting them into useable fabric. Here is one block. I will have 30, 5 X 6 arrangement.
      I had bought a small Lemoyne Star template from Victoria Findlay Wolfe at QBL in July. I had cut out a star with made fabric and it was sitting on the wall. So, last night, I pulled out fabric for the edges. When I had sewn it together, I realized that the background fabric was so busy, that the star disappeared. So much for working past my bedtime. So, I ripped it all apart and used the yellow scraps. Much better. Because the autofocus went south on my lens, I did not take a picture of the wrong fabric. I am using manual focus which is just about impossible to get right. In my old film camera, the center for focusing were prism rings that came into focus when it was right. This Canon Tli has none of that. I have emailed a few places about repair costs, but no one answers me so far. So, I apologize for blurry photos.
This is about 20 x 20. I am wondering if I can just add border ideas to make this lap size. I have no more of this particular yellow to make more background for other stars. Or would it matter?
    I also continued to polish Grandma's 66 and am making slow progress. There is a shine that emerges. Yay for TR3 and elbow grease and cotton balls.
     Lastly, someone generously gave me scraps that were triangles of pumpkin/fall fabric. I sewed the triangles into squares and made a small quilt/table runner. I have finished FMQ it on my 301. It just needs a binding. My daughter in law loves fall decorations, so it will probably go to her. Just love using up those precious scraps.
it is about 14 x 20

Saturday, October 4, 2014

Another made fabric star

     Since I bought a smaller template from Victoria Findlay Wolfe this summer, I used some new made fabric (from the treadle) to make a smaller star. I am thinking of making four to use in one quilt. I have to treadle a lot more scraps. I don't know what fabric to set them with. I have some nice light gray. I don't know if I want to use a patterned fabric there. Might be too much?
   I also used some made fabric to make a larger Maverick star than the ones I made in Bonnie's class. They were four and a half inches. I made each of these squares 4 1/2". I used dark fabric as the setting because it show off the star colors better I think. I am thinking of making a lot of these, but I don't know how I would arrange them. Not sashing.

Tuesday, July 29, 2014

Other gems at QBL

    I was privileged to be around so much talent and creativity pouring out at QBL. I took photos of some of my classmates work and will post a sample here. I did not take my good Canon, so I am a bit disappointed in the photo quality. I regret I did not take more photos, but I was so busy working, that I missed a lot of the progress. A few people, I forgot names (the quiet ones). I missed some more great quilts.
    Also, a suite mate in the dorm of mine was Lynn Roddy Brown, a very accomplished quilter and author from Houston. I signed up to take one of her classes at the Houston Quilt Festival after meeting her. She is a wealth of technical and design knowledge patiently explained. I bought two of her books, Simple Strategies for Scrap Quilts, and Simple Strategies for Block Swap Quilts. She has another. I am awe of her abilities and personality. If you live anywhere near where she is teaching, go! Here is one of her quilts at the QBL show.
Lynn Roddy Brown
    Quilters from the made fabric class were creating these.

Connie's Made quilt
Made House
Jenny's made work

Made Houses
Norma, an 80+ quilting wizard
Made fabric center
Center with HST border, just amazing
Pat's made column
Great design from the woman with the orange HST borders,
wish I remembered her name!

    Quilters from the Lemoyne class were creating these. For even better photos, go to Lisa's blog, The redheaded mermaid, for more eye candy.


Beth's carefully though out star

Simple fabric, strips bring it to life

E's cut up top making a star point, 4 times

Emily's dragonfly star, carefully laid out using a folding mirror to cut shapes

Emily's wild star
E's quilt top that she cut up for stars, photo on theredheadedmermaid blog
Holly's King, super size, star
Just the racoons
With the borders, amazing

Look at Lisa's arrangement 1, with purple centers
Lisa's Arrangement 2, with stripe centers
Marcia's elegant neutral star

The neatest worker in the class, nothing ever out of place
 
Barbara's Japanese fabric star


Lemoyne Star at QBL

     The three day class with Victoria Findlay Wolfe held lots of challenges and new techniques such as Y seams.
    I started with having to make fabric. Some people had quilt tops they hated and cut them up. Some had orphan blocks. I sewed 6" squares and 6" x 12" rectangles together to make it big enough to cut out the star pattern.

The initial blocks
The cut out shapes, these are extra for now
Assembly started with settings, polka dot added to settings
Trial border with black against star
Trial border with red against star
Laying out the HSTs
Border laid on floor with numbers to match up
All sewn, need backing now but what?