Friday, August 4, 2017

Spa Day for a 69 year old

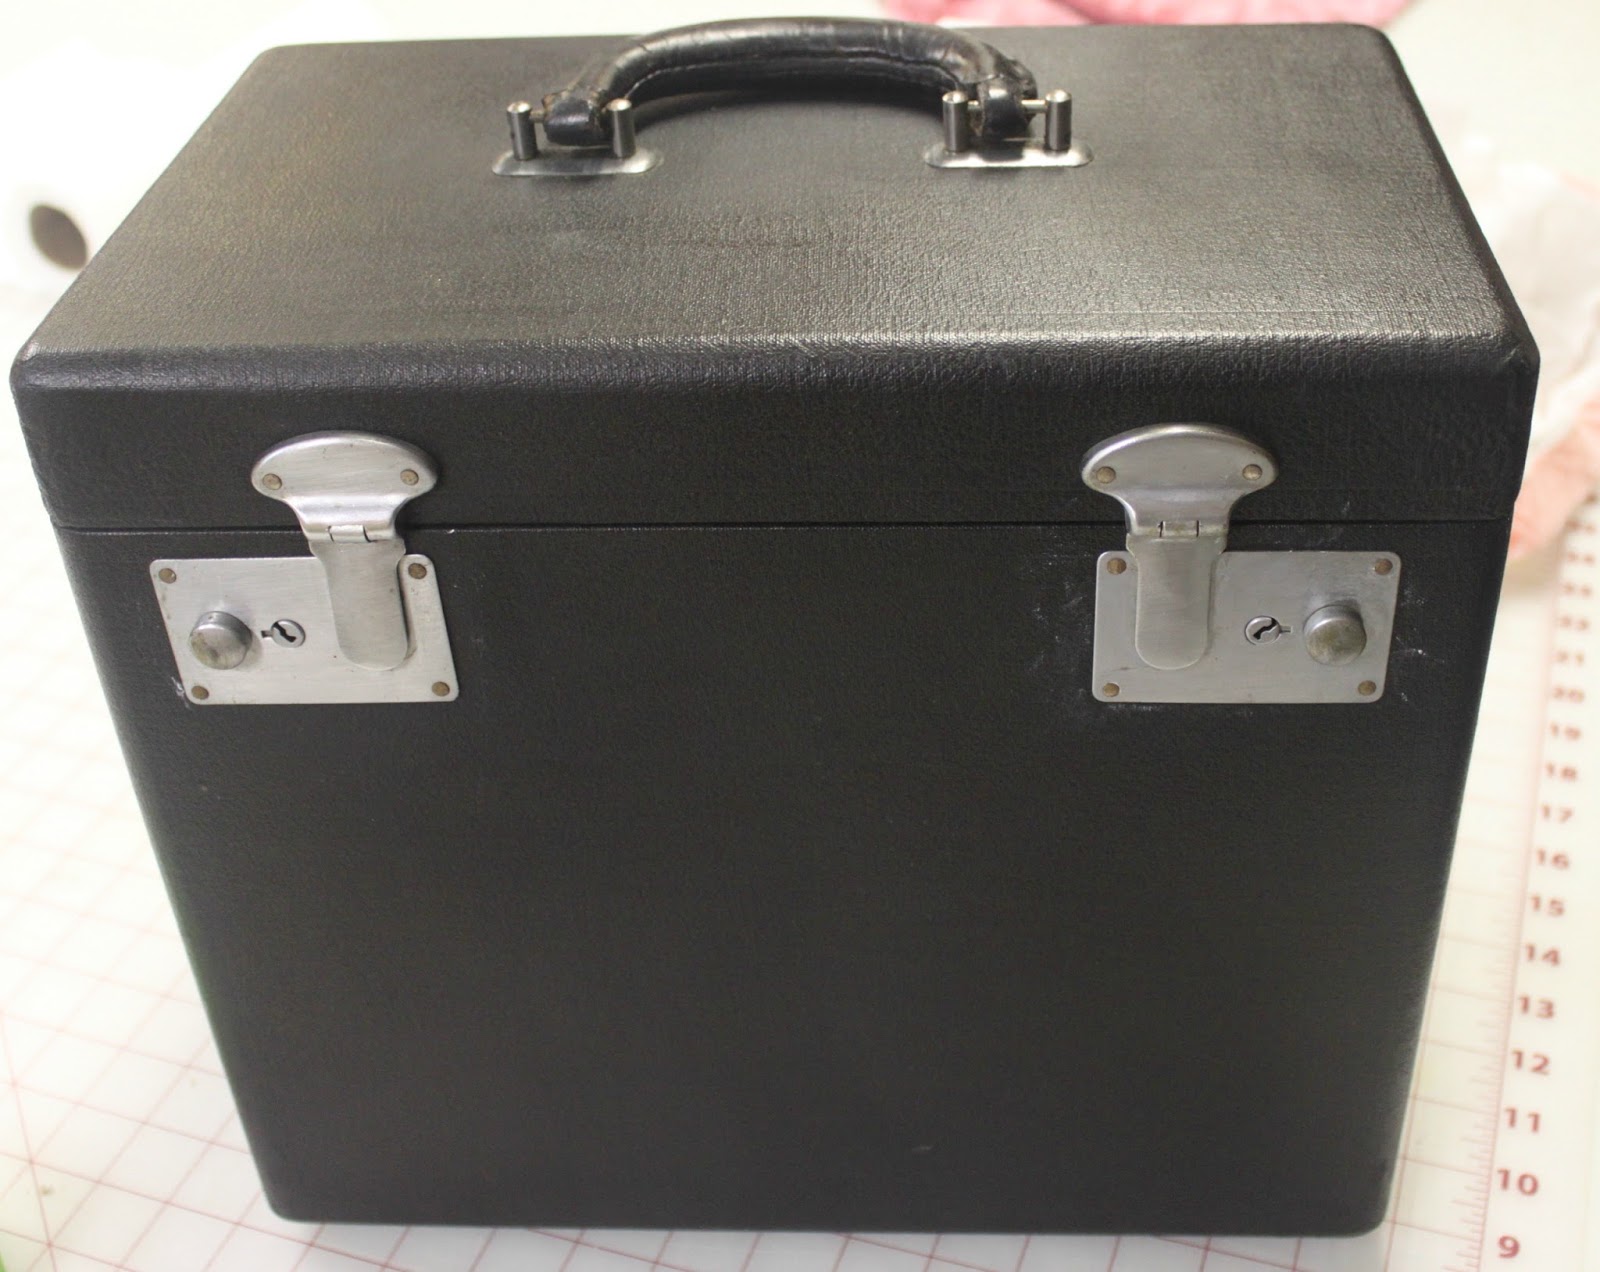
     No, it is not me. I am not 69. It is a Singer Featherweight that I was asked to clean and make sing. I love cleaning and adjusting vintage machines. The craftsmanship and attention to detail on these machines are awe inspiring. The straight stitch on these are superior to any new one. The Singer Featherweight, the 221, is slightly underpowered compared to my 301 or 15, but it sews fantastic. I just gaze at the stitching sometimes in wonder. Any bells and whistles new machines have hold nothing to the quality of the straight stitching of the vintage. To me, it is all about the stitch. I could care less about thread cutters (I have snips), knee lifts, or automatic threaders- as a quilter is all about the stitch quality. Because of this I crave to fix and clean vintage ones to restore the glory to machines that truly revolutionized women's lives in the home. I get referrals to clean and give the spa treatment frequently and especially love restoring the 221s.
     This 221 has mold and moisture issues. The cord had to be tossed. It was so gross, I ran it out to the trash with no time for a photo. The machine had mold on the bed and inside. I was able to clean it all out and it ran like a champ. Perfect stitching.
Before

After
Before
After
Before
After


Befores
After

It all clicked

     In April, I took a class with Sujata Shah on Organized Chaos, a kaleidoscope quilt. I spent two workshop days on it and innumerable hours and pieces of fabric (a lot not used) in putting the quilt together. I have always loved the kaleidoscope quilts. Ones from Wanda and Maureen have made me drool and I was glad to take the plunge. I needed a lot of advice and help because sometimes I got lost in the forest. I kept chipping away at it and added two additional rows to make it bigger and more rectangular. It was sewn in sections instead of the normal columns webbing that I like to do once Wanda explained it to me. 
    I used all stash fabric with some fabric strips given to me by a friend. I love the colors and movement and sparkle. It was slow with double pinning, but I wanted a good result. I was really never sick of looking at. I was frustrated at times, but the whole quilt was a great experience. If I had not taken the class, I would not have got off the starting block. I love all the different kinds of fabrics and colors used. 
     It is 55" x 72" right now. I would like to have a wide border, but what fabric? So, from early April until August 4th, it is sewn.

Wednesday, August 2, 2017

Just Six Sections

     The Organized Chaos kaleidoscope quilt is all sewn up into six sections just waiting for the other seams to sewn. It is very slow because of all the pinning matching up points. I am not normally a pinner, but I am forced with this. No matter how careful I cut, sewed, trimmed, etc, I could not get every point to line up but close. I need to not obsess on it, I did the best I could. I need about an uninterrupted hour and half to get this all sewn. All then, I am not sure what to do about a border. I just love all the colors.

Special Project Reveal- Why Free Motion Quilting matters

     There are many reasons to work on special projects. Like a company gives you new fabric, a milestone event in a loved one's life, a extraordinary inspiration, or a challenge to move you ahead. 
     I believe that the quilting on the quilt needs to be part of the fabric pieced design, like paint fills around the lines on a pages. I look at the quilt and try to determine what the quilt needs stitched in. Personally, I don't like all over designs because they ignore all the  beautiful piecing going on. I realize I am in the minority. When I choose a top, I try to find an overall theme, topic, motif, or expressive line. 
     When Deanna from Wedding Dress Blues posted how she had a quilt that she did not know how it could be quilted, I emailed her and told her I would take it on. I don't quilt for others, but this was a challenge I wanted to gift. 
Deanna's quilt in her blog
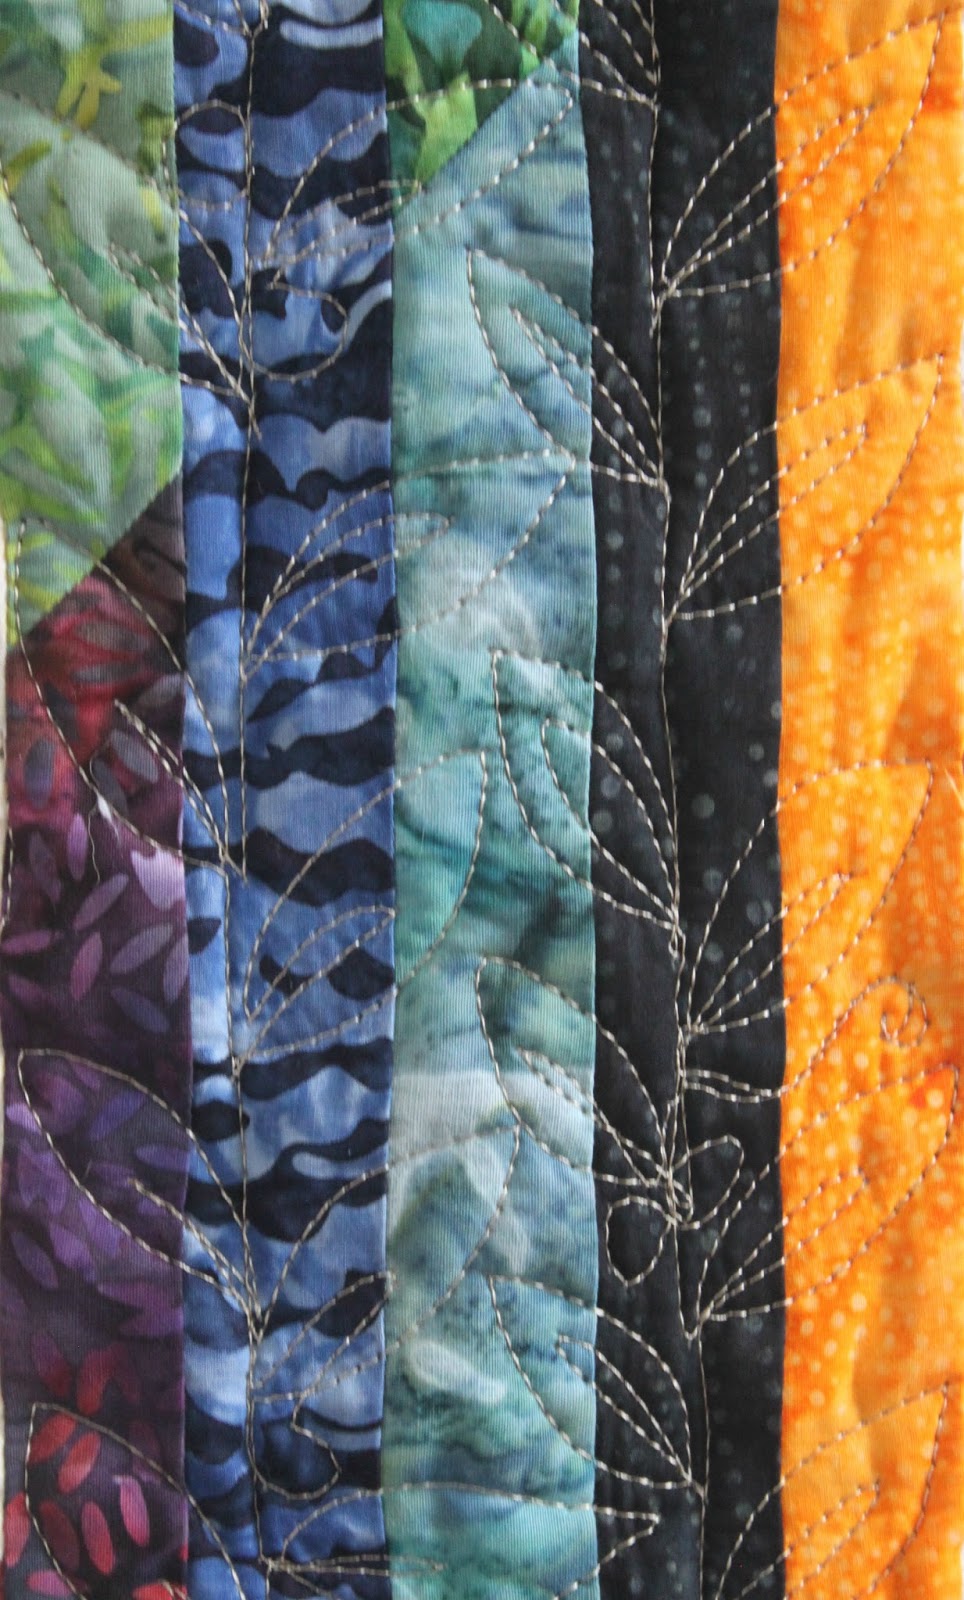
     I looked at this quilt as a flower garden in vertical rows. I thought the bright vertical strips would be a tall column of leaves in between the flowers. The pastel areas, I made free form leaf designs that curve and curl to break the linear grid. I did not want to quilt over the flower star shapes, so I did swirls around them up to the edges and made a flower center which I varied for each flower. When this is washed, the star flowers will pop up from the background. 
     I quilted this in Mocha Glide on the top and Mocha Premosoft in the bobbin. I used a titanium needle and no problem with the batik or multiple seams. I did not trim it, but folded into a priority box and mailed it back to her in Utah (I am in Buffalo, NY). 
Whole quilt, untrimmed


Vertical leaves columns

Flower center detail


Back, busy fabric, hard to see quilting
Quilting on back
   She has not received it yet, so I am hoping she likes it. 
I hope I explained and showed that quilting can be an effective design element along with the piecing and elevate the whole quilt. Now back to my stack of quilts hanging in the balance.

     I

Thursday, July 27, 2017

Three finishes, kind of, sort of...

     Due to all the rain we have been having, it has been hard to photo some quilts outside. Today, there was a break, so I rushed out and did the job.
     The first quilt is one from our guild that was cut out as a kit to make for our local VA hospital. We want to have 50 quilts by Veterans Day. I added an extra row around because it needed that neutral on the outside edge. Except for the center squares, it is all made from brick shapes. My mom helped sew the short edges of all the bricks, and then I assembled all the blocks and top. I made a scrappy binding because I thought it looked better than what I was given.

     The second vet quilt was made by another guild member and I quilted it. She wanted to trim it herself, so it is not all done.
     The last quilt is from the other half of the HSTs made from the Shirbori layer cake. This one is asymmetrical. I made the borders real wide so that  it can be used on a twin bed. It needs backing and quilting.


Monday, July 24, 2017

Color block placemats

     Rarely do I ever sew anything but quilts. I am perfectly happy with it that way. However, I have an art teacher friend who had a birthday and our group of five celebrates our birthdays with food and a craft. My friend, Terri has been very good to me over the years with her estate sale finds. I thought she would like if I made her something. I have already done totes and scarves and potholders, so I thought of placemats. I wanted something with elemental colors as she had been an elementary art teacher. I found a great mug rug tutorial  but had to figure out how to upsize it for placemats. Using the online proportional calculator, I tried a 2" square and a 2 1/2" square size and found a 2" one gave me the correct sizes. I wrote these down on the printed mug rug tutorial so I always have them. 
    What I did not keep in mind was that although one was quick and fun, four took a lot longer to sew. When it came to quilting them, I used a variegated rainbow thread. Each placemat took a bobbin of thread. Pretty crazy. I used a text fabric that showed art terms for the back and picked one of my crazy fabrics I like to use for binding. They are about 15" x 19". It took about 8 hours to make these. I should have made a wall quilt in the time it took.
All pieces cut. Lots of auditioning to get fabrics right.
For example, a dk green would not work with the others.

Front all sewn before trimming
Seams sewn on back, opened up

Pinned for quilting on the 301
Quilted with variegated Isacord


Back

Wednesday, July 19, 2017

Strip tubes, Summer in the Park

     I am always looking for comfort quilt patterns that my mom can help with and keep her from being bored. She can sew straight seams, strips and squares, but does not piece, cut or trim. I had this jelly roll of black strips and got a batik one on special, so I remembered this quilt from Missouri Star Quilt Company. I pinned a set of black, color, black and a set of color, black, colors together and told my mom to sew them in that order. She pressed all the sets and then sewed the opposite sets to each other, making a tube. I got the tubes back and am cutting them with my Strip Tube Ruler (Cozy Quilts). I have to trim them to an even 8 1/2" block due to my mom's not quite true 1/4". I use the diagonal of the block lined up on my 9" square ruler and trim all sides to 8 1/2". When I get a bunch trimmed up, I will arrange some on the wall and photo them for you to see. 
The pile of strip tubes

The sequence of color sets

Tubes flipped to the opposite side to show how opposites are paired to make the tube